



“You’re a freelancer? Good luck getting a US visa.”
I heard some version of this warning more times than I can count while preparing for my own application. And it didn’t stop there. The moment people found out I had family already living in the United States, the warnings got even louder — “your chances just dropped,” they’d say, as if it was some unwritten rule.
Here’s the thing: none of that turned out to be true for me.
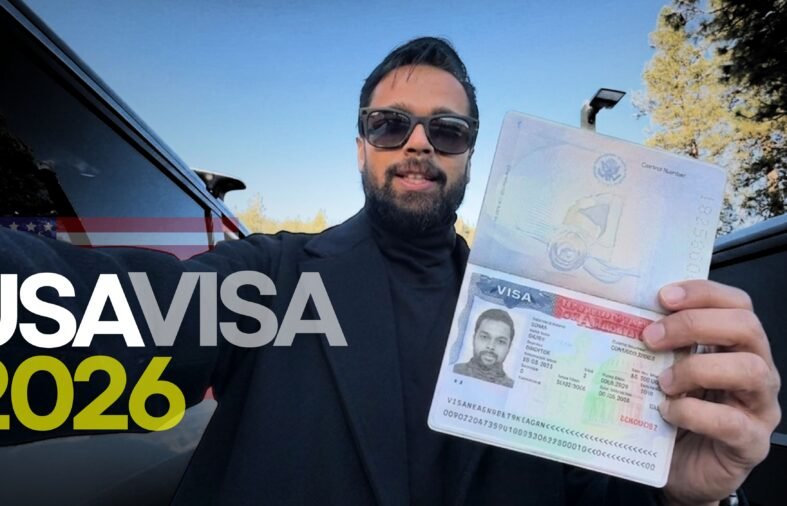
I’m a freelancer. I run my own business. And yes, I do have family in the US. Despite checking every single box that people told me would work against me, my wife and I both got our visas approved. So instead of letting the myth keep circulating unchallenged, I decided to write down exactly what happened — every step, every document, every question — so that anyone in a similar position has something real to reference instead of secondhand fear.
This isn’t legal advice, and it isn’t a guaranteed formula. It’s simply what actually happened when we applied, based on our real experience going through the process.
Step 1: Starting the Application — The DS-160 Form
Every US non-immigrant visa application begins in the same place: the official visa application website, where you select the non-immigrant visa category. This is where the process technically starts, and it’s worth bookmarking because you’ll come back to it more than once.
Once you’re on the site, you’ll need to create an account before you can begin filling out the DS-160 — the core application form required for a US visa. This form asks for detailed information about your background, your travel plans, your occupation, and your finances, and it takes real time and attention to complete properly.
If you’re applying together with a spouse or family member and want your appointments scheduled around the same time, there’s an option to select “create family application.” This doesn’t merge your applications into one — you’ll still each fill out your own separate DS-160 form — but the system links both applications together and treats them as a single family unit for scheduling purposes. This made a real difference for us in coordinating appointment dates.
The One Rule That Matters More Than Anything Else
If there’s a single piece of advice I’d want every applicant to actually absorb, it’s this: fill out every section of your DS-160 honestly. Your occupation, your income, whether you have relatives in the destination country — none of it should be hidden or softened to sound more “visa-friendly.”
I know the instinct. If you’ve heard that certain factors hurt your chances, it’s tempting to leave them out or downplay them. But consular officers have seen every version of every story. Inconsistencies and omissions are far more damaging than an honest disclosure ever could be. Transparency isn’t just the ethical choice here — it’s genuinely the smarter strategic one.
Once your form is complete and submitted, print out the confirmation page. You’ll need to physically carry this document with you all the way through to your interview appointment, so keep it somewhere safe.
Step 2: Paying the Visa Fee and Booking Appointments
After your DS-160 confirmation is in hand, the next step is paying the visa application fee through the designated payment portal. Once that payment clears, you move on to the appointment scheduling website, where you’ll need to book two separate appointments — not one.
The first is your biometric appointment. This always takes place before your actual interview, and it’s a separate, shorter visit.
The second is your visa interview appointment — the one most people are anxious about, and the one this article spends the most time on.
While scheduling, you’ll also be asked to choose your preferred interview language. We chose English, but if you’re applying from India — particularly through the Mumbai consulate — you also have the option to select Hindi, Marathi, or Gujarati, and a translator will be provided for you. Other consulates across India, and likely other countries, tend to offer their own relevant regional language options as well, such as Telugu, Kannada, Tamil, Punjabi, or Bengali, depending on where you’re applying from.
Step 3: What to Do While You Wait for Your Appointment
Once your appointments are booked, there’s a waiting period before your actual appointment date arrives. This gap is not just downtime — it’s genuinely your best opportunity to prepare properly, and I’d encourage you not to waste it.
Getting Your Documents in Order
The official visa website provides a general checklist of documents you’re expected to bring on your appointment day, and it’s worth reviewing carefully. As a freelancer, I made sure to carry a few additional documents beyond the standard list to clearly demonstrate my income, business activity, and financial stability —
(Firm’s registration certificate, which includes all kinds of registrations, municipal registration, MSME Registration, GST registration certificate, Trademark and Copyright certificate, turnover records, bank statements, Documents of your assets in India to show your strong ties to the country, and if you have any other documents, keep them ready)
Preparing for the Interview Questions
The second major piece of preparation is mental, not paperwork. My wife and I spent time watching videos and researching commonly asked interview questions, and we actually practiced our answers out loud beforehand. This might sound like overkill, but it made a real difference in how confident and composed we felt on the actual day.
Some of the most common questions applicants are asked include:
- What is the purpose of your visit?
- Where exactly are you planning to go?
- How long do you intend to stay?
- What do you do for work, and what is your income?
- Who is sponsoring the trip financially?
Practicing these answers isn’t about memorizing a script or constructing a “perfect” story. It’s about being able to state the truth clearly, without hesitation, rambling, or nervous over-explaining — all of which can unintentionally raise red flags even when you have nothing to hide.
Step 4: Day One — The Biometric Appointment
Compared to the interview, biometric day is refreshingly simple. We arrived about 15 minutes early, as recommended. One important note: don’t carry any electronic devices with you, since you’ll be required to purchase a locker if you do.
Inside, the process moves through a few short checkpoints. You’ll show your passport and DS-160 confirmation, and then have your fingerprints and photograph taken. That’s the entire appointment — quick, procedural, and low-stress.
Step 5: Day Two — The Actual Visa Interview
This is the part everyone builds up in their head, and understandably so — it’s the moment that ultimately determines the outcome of your application.
We carried all our supporting documents in a transparent folder, again with no electronic devices on us. After arriving on time and clearing a security check, we were asked to sit and wait. That initial wait outside lasted close to half an hour before our row was finally called in.
Once inside, the scale of the process became clear — there were somewhere between 12 and 13 counters, each staffed by a different visa officer conducting interviews simultaneously. We were first directed to one counter purely to have our fingerprints taken again, separate from the biometric appointment days earlier. After that, we waited in the main line for roughly another 30 minutes before finally being redirected to a specific counter for our actual interview.
We greeted the officer, and the interview began with the first and most predictable question: what is the purpose of your visit. From there, over the course of about 15 minutes, both my wife and I were asked a detailed series of follow-up questions.
What Actually Matters in That Room
If I had to summarize the entire experience into one piece of advice, it would be this: stay calm, and answer everything honestly.
There’s no need to lie, exaggerate, or hide anything — and frankly, there’s no benefit to trying. Visa officers have interviewed thousands of applicants and have a well-trained eye for inconsistency. Attempting to construct a more “impressive” version of your situation is far more likely to backfire than a straightforward, honest answer ever would.
What genuinely works in your favor is demonstrating clear, strong ties to your home country — your job, your business, your family, your property, your responsibilities — combined with honest, direct answers to every question asked. That combination, more than anything else, is what gives you the best realistic chance of approval.
Looking back at the entire process, what stands out most is how much of the anxiety beforehand came from assumptions and secondhand warnings rather than the actual system itself. Being a freelancer didn’t disqualify us. Having family in the US didn’t disqualify us. What actually mattered was accurate documentation, honest communication, and a reasonable amount of preparation.
If you’re currently preparing for your own US visa interview and dealing with the same warnings I heard, I’d encourage you to focus less on the myths circulating around you and more on getting your actual paperwork and answers in order. That’s genuinely what the process comes down to.
Disclaimer: This article is based on personal experience and is intended for informational purposes only. Visa policies, documentation requirements, and procedures are subject to change and may vary by consulate, nationality, and individual circumstance. Please verify current requirements directly on the official U.S. Department of State website (travel.state.gov) or the Consular Electronic Application Center (ceac.state.gov) before applying.
Leave A Reply